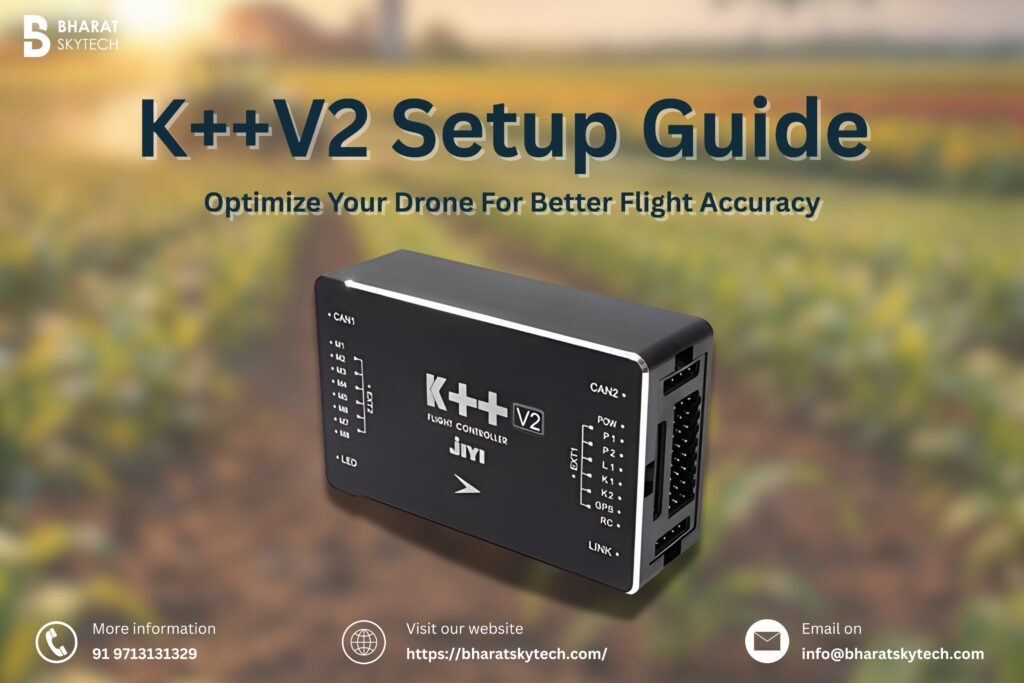
Jiyi K++V2 setup is simpler than most people think — but only if you follow the right steps in the right order. Skip one and you could spend hours troubleshooting a problem that should never have existed. The K++V2 flight controller is one of the most reliable and capable multi-rotor controllers available in India today, trusted by agricultural drone operators, aerial survey professionals, and serious hobbyists alike. But even the best hardware performs poorly without proper configuration. This guide gives you a straightforward, no-confusion walkthrough of the complete K++V2 setup process in 8 easy steps — along with everything you need to know about buying the genuine unit through India’s trusted Jiyi distributor, Bharat Skytech.
Step-by-Step Jiyi K++V2 Setup Guide
Step 1: Unbox and Check All Parts
Open the box and lay everything out on a clean flat surface. Make sure you have all these items with you:
- K++V2 Main Flight Controller
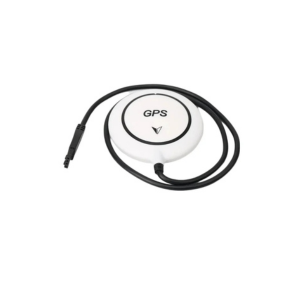
- GPS Module
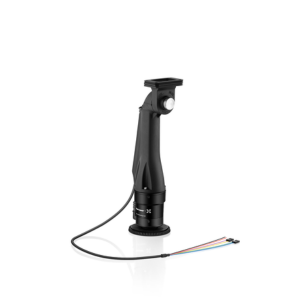
- PMU (Power Management Unit)
- LED Status Indicator
- Mounting screws and anti-vibration pads
- USB cable and connecting wires
Check every item carefully against the packing list. If anything is missing — especially the PMU unit — contact your seller before moving forward. Do not start the setup with incomplete parts.
Step 2: Download Jiyi Configurator Software
Before connecting any wires, download the Jiyi Configurator software from the official Jiyi website. This is the main software you will use to configure your flight controller, update firmware, calibrate sensors, and tune flight settings.
Install it on a Windows 7, 8, or 10 PC (32-bit or 64-bit both work). Open it once and get familiar with the layout before you start wiring. Having the software ready saves you a lot of time later.
Step 3: Mount the Flight Controller on the Frame
Fix the K++V2 flight controller at the exact centre of your drone frame using the anti-vibration pads provided. Make sure the arrow on the top of the controller points toward the front of the drone. Even a small tilt or misalignment will confuse the controller and cause your drone to drift or fly unstably.
Tighten the screws properly but do not over-tighten — too much pressure on the pads reduces their ability to absorb motor vibrations.
Step 4: Connect the PMU and ESCs
First, connect the PMU input wires to your LiPo battery leads. The PMU works with batteries from 3S all the way up to 12S and gives the flight controller a clean 5V power supply. Make sure all solder joints are tight and insulated — a loose power wire is one of the most common reasons drones crash mid-flight.
Next, plug each ESC signal wire into the correct motor output port on the K++V2. Check the motor layout diagram in the Jiyi manual for your frame type — whether it is a quadcopter (X4), hexacopter (IY6), or octocopter (X8). Every motor port number must match the correct arm position on your frame.
Step 5: Set Up GPS Module and SBUS Receiver
Mount the GPS module on a mast at least 10–15 cm above the frame. Keeping it high away from ESCs, motors, and power cables prevents interference that can ruin GPS accuracy. Connect the GPS cable to the GPS port on the controller. This module handles position hold, return-to-home, and auto landing — so mounting it correctly is very important.
Next, plug your SBUS receiver into the SBUS input port and bind it to your transmitter. Open the Jiyi Configurator, go to RC Calibration, move all sticks and switches through their full range, and assign your flight modes — such as Manual, Attitude, GPS Hold, and Return-to-Home — to your preferred switches.
Step 6: Connect K++V2 to PC and Update Firmware
Connect the K++V2 to your Windows PC using the USB cable. The Jiyi Configurator should detect it automatically. If it does not, open Windows Device Manager, find the correct COM port, and select it manually in the software.
Once connected, check the firmware version shown in the software. If an update is available, install it before doing anything else. Running the latest firmware ensures the best performance, latest bug fixes, and access to all current features.
Step 7: Calibrate Accelerometer and Compass
Accelerometer Calibration: Place your drone on a perfectly level surface and run the accelerometer calibration from the Jiyi Configurator. This tells the controller what “level” looks like for your specific build.
Compass Calibration: Go outside, away from metal objects, vehicles, and power lines. Run the compass calibration and slowly rotate your drone through all three axes as shown on screen. This is one of the most important steps — a bad compass calibration causes toilet bowling (drone spinning in circles), wrong heading direction, and failed return-to-home. Never skip this step.
Step 8: Motor Test and First Hover
Before flying, use the motor test function in the Jiyi Configurator to spin each motor one by one at low throttle. Check that:
- Every motor spins in the correct direction
- The right motor turns on when selected in the software
- No unusual noise or vibration is present
If a motor spins the wrong way, simply swap any two of its three wires at the motor terminals. Once all motors check out, take the drone outdoors, wait for a solid GPS lock on the LED indicator, and do a gentle low-altitude hover test at around one metre. If the drone wobbles or feels twitchy, lower the PID values slightly. If it drifts, increase them a little. Make one small change at a time and retest each time.
About Bharat Skytech — Your Trusted Jiyi Distributor in India
Bharat Skytech is one of India’s leading drone technology companies, specializing in the supply of professional UAV components, flight controllers, motors, ESCs, propellers, and complete drone kits. For Indian drone builders looking to source the Jiyi K++V2 flight controller, Bharat Skytech is the most reliable and accessible option available domestically.
As an authorized Jiyi product reseller, Bharat Skytech ensures that every unit sold is genuine, fully tested, and comes with proper documentation and accessories. This eliminates the risks associated with purchasing grey-market or counterfeit flight controllers from unverified online sources — a serious concern in the rapidly growing Indian drone components market.
Beyond simply selling hardware, Bharat Skytech provides technical support and guidance to help customers complete their builds successfully. For new builders unfamiliar with the Jiyi K++V2 setup process, this after-sales support is invaluable. Their team understands the specific challenges faced by Indian drone builders, including local regulations, climate conditions, and compatible component sourcing.
Bharat Skytech serves a wide range of customers — from individual hobbyists and FPV racing enthusiasts to agricultural drone operators, aerial photography professionals, and commercial UAV service providers. Their product catalogue covers everything needed to build a complete drone from scratch, with the Jiyi K++V2 being one of their flagship offerings.
Final Words
A correctly completed Jiyi K++V2 setup transforms your drone into a precise, stable, and reliable aerial platform capable of professional-level performance. Follow each step in this guide carefully — from mounting and wiring to calibration and hover testing — and your K++V2 will reward you with consistent, accurate flights. And when it comes to sourcing your unit with confidence, Bharat Skytech remains the most dependable choice for drone builders across India order your genuine Jiyi K++V2.