An agri drone remote controller plays a crucial role in modern agriculture, where drones have become essential for spraying fertilizers, pesticides, seeding, crop monitoring, and mapping. However, the efficiency and safety of an agriculture drone depend heavily on proper communication between the remote controller (transmitter) and the drone’s internal electronic system, including the receiver, flight controller, battery, payload units, and cameras.
If the pairing and configuration are not correct, operators may face problems such as signal loss, unstable flight, incorrect spray control, delayed responses, or even accidents during field operations.
This blog provides a complete step-by-step guide on pairing a remote controller with agriculture drone components, covering receiver binding, transmitter setup, battery connection, FPV camera integration, and payload controls.
Why Proper Pairing and Configuration Are Important
Before flying an agriculture drone for spraying or mapping tasks, the remote controller must be perfectly configured so that:
- The drone responds instantly to control signals
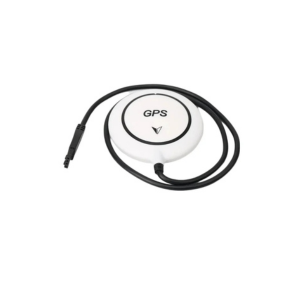
- Telemetry data like battery voltage, GPS status, flight mode, and altitude is accurately displayed
- Payload units such as the sprayer pump, flow controller, and camera gimbal operate smoothly
- Fail-safe automatically activates when the signal is lost
- Long-range flights maintain communication stability in large agricultural fields
Proper configuration ensures:
- Safety
- Accuracy
- Reliability
- Long-range communication
- Efficient spraying operations
Step-By-Step Guide to Pairing Remote Controller with Agriculture Drone Components
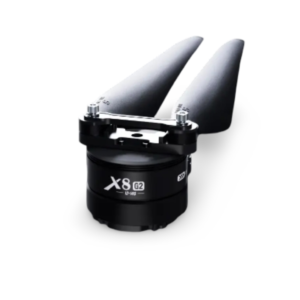
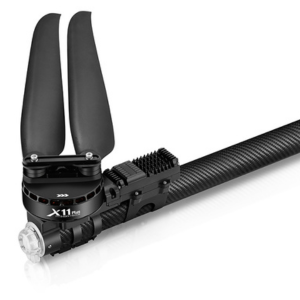
1. Understanding Remote Controller & Transmitter System
An agriculture drone remote controller is a hand-held device with two sticks and multiple switches used for controlling the drone during flight. It communicates with the drone using radio signals through a transmitter (TX) in the controller and a receiver (RX) inside the drone.
Key features to check in drone controllers
| Feature | Description |
|---|---|
| Frequency Band | 2.4GHz / 900MHz / Dual-band |
| Transmission Range | 5km – 15km depending on model |
| Channel Count | 10 to 16 channels |
| Telemetry Data | Battery status, GPS, Signal strength |
| Compatibility | Flight controller, receiver, payload systems |
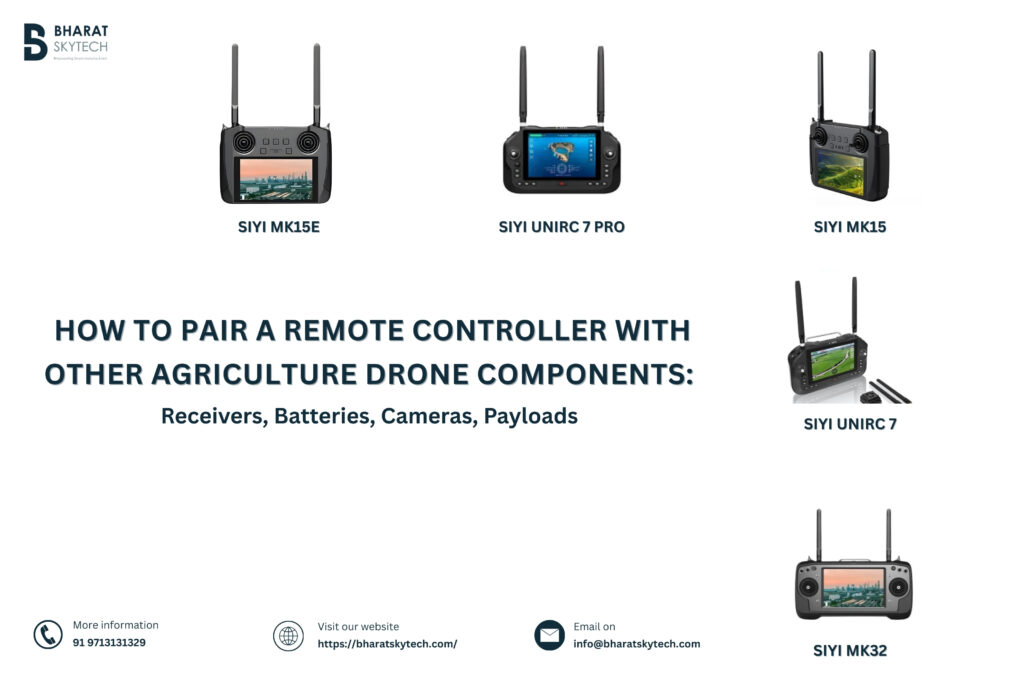
Popular controllers for agriculture drones include:
- SIYI MK32
- SIYI MK15
- Skydroid H12 / H12 Pro / T12
- Pixhawk compatible transmitters
- Radiomaster / Futaba industrial controllers
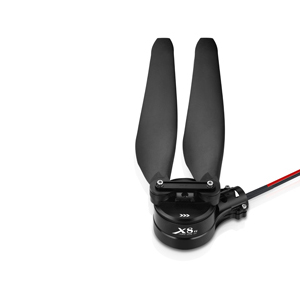
2. Drone Transmitter and Receiver Pairing
This is the first and most important step in agriculture drone remote controller setup.
Steps for Binding the Receiver with Remote Controller
- Power on the receiver using the drone battery or BEC power supply.
- Press the Bind button on the receiver (depending on brand).
- Turn on the Remote Controller in Bind Mode (refer to user manual for specific combination keys).
- Wait until the LED on the receiver changes from flashing to solid, indicating successful binding.
- Test channel response through joystick movement in the radio setup screen.
Common Receiver Types Used in Agriculture Drones
| Receiver | Frequency | Application |
|---|---|---|
| Skydroid R12 | 2.4GHz | Large farm spraying drones |
| SIYI FM30 / MK15 receiver | 2.4GHz / 900MHz | FPV + Payload + Dual radio |
| Futaba / Radiomaster RX | 2.4GHz | Agriculture/mapping |
| ELRS long-range RX | 900MHz | Long range telemetry support |
Binding Safety Tips
- Never bind with motors connected to ESCs
- Keep drone props removed during setup
- Maintain safe distance from metal interference sources
- Ensure firmware compatibility
3. Drone Remote Controller Configuration
Once binding is complete, channel mapping must be configured for stable flight and payload function.
Common channel mapping for agriculture drones
| Channel | Function |
|---|---|
| CH1 | Roll (Aileron) |
| CH2 | Pitch (Elevator) |
| CH3 | Throttle |
| CH4 | Yaw (Rudder) |
| CH5 | Flight Mode switch |
| CH6 | Return-To-Home (RTH) |
| CH7 | Pump On / Off |
| CH8 | Flow Control |
| CH9 | Gimbal Tilt / FPV Camera angle |
| CH10 | Payload / emergency stop |
Steps for Controller Configuration
- Open Radio Setup / Model Setup on the controller interface
- Select Model Type – Multirotor
- Perform Stick Calibration
- Assign Switches for payload features
- Configure failsafe settings
- Check stick direction & endpoints
- Save profile
4. Drone Receiver Binding Process with Flight Controller
Once paired with the transmitter, the receiver must be configured in the flight controller (Pixhawk / CUAV / JIYI K++ / HERELINK system).
Procedure
- Connect flight controller to PC (QGroundControl / MissionPlanner)
- Go to Radio Calibration
- Move sticks and confirm travel limits
- Reverse channels if necessary
- Set failsafe mode (Land / RTH)
- Save and reboot
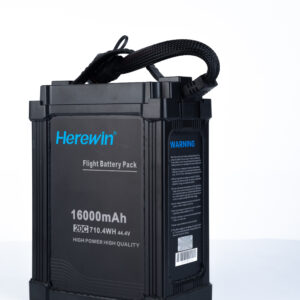
5. Drone Battery Setup and Configuration
Batteries are crucial for powering the drone, payload and remote controller communication.
Connecting the battery to the drone
- For agriculture drones, use a 6S or 12S LiPo battery (e.g., 16000mAh – 30000mAh)
- Connect battery to Power Distribution Board
- Ensure XT90 / AS150 connectors are secure
- Power flight controller via BEC
- Set battery voltage telemetry
Recommended agriculture drone batteries
| Brand | Capacity | Usage |
|---|---|---|
| Herewin 6S 16000mAh | 10L / 16L drones | |
| Tattu 6S 22000mAh | Heavy payload drones | |
| CNHL/Amass packs | Medium ag-drones |
Battery Setup Tips
- Always perform a voltage range check before flight.
- Use a battery smart charger like SKYRC PC1080.
- Keep battery temperature within safety limits.
- Balance charge after every use.
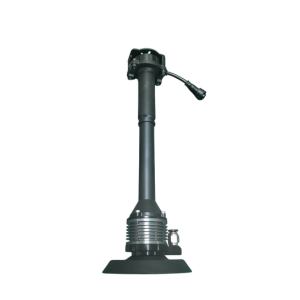
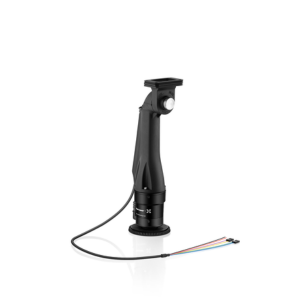
6. FPV Camera and Gimbal Pairing
Many agriculture drones use FPV camera systems for live view during spraying.
Steps to Pair Camera
- Connect camera output to image transmission module
- Link transmission to controller using HDMI / Ethernet
- Configure video link channel & frame rate
- Confirm live view on controller display
Popular FPV systems include:
- SIYI A2 Mini
- SIYI A8 Mini 4K Gimbal Camera
- DJI FPV Systems
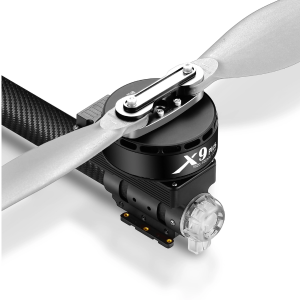
7. Payload System Integration
Payloads in agriculture drones include:
- Sprayer pumps
- Flow sensors
- Solenoid valves
- Seed spreaders
Pairing Process
- Connect payload wires to flight controller AUX pins
- Assign switches via transmitter config
- Test operation without liquid load
- Validate field performance
Troubleshooting Remote Controller Pairing Problems
| Problem | Solution |
|---|---|
| No signal / RX not binding | Check firmware version, antenna placement |
| Erratic channel response | Recalibrate sticks |
| Telemetry missing | Enable serial port settings |
| FPV video not visible | Check cable routing and power supply |
| Payload not switching | Reassign switch channels |
Conclusion
Pairing and configuring a remote controller with agriculture drone components is essential for ensuring safety, stable flight performance, payload accuracy, and efficient crop spraying.
Following a structured setup process—including transmitter-receiver binding, channel configuration, battery setup, FPV camera integration, and payload pairing—helps operators achieve maximum productivity with minimum risk.
Whether you are an agriculture drone manufacturer, drone service provider, farmer, reseller, or training institute, mastering remote controller setup ensures smooth spraying operations, reduced downtime, and improved yields.
If you need agriculture drone remote controllers, receivers, chargers, batteries, or replacement components, Bharat Skytech supplies premium OEM solutions with fast delivery and technical support across India.