How to Assemble an Agriculture Drone from Components/ Parts

Agriculture drones are transforming modern farming by making crop monitoring, spraying, and mapping efficient and precise. If you’re considering assembling your agriculture drone, Bharat Skytech is your trusted partner, providing all the high-quality components you need to build a reliable drone. Follow this detailed guide to get started!
Why Build an Agriculture Drone?
Building your own agriculture drone offers several advantages:
- Cost Savings: Assemble a drone at a fraction of the cost of pre-built models.
- Customization: Tailor it to your farm’s unique requirements, from payload to flight time.
- Skill Development: Learn the mechanics, making maintenance and upgrades easy.
Bharat Skytech provides premium-quality components and 24/7 support to simplify your journey.
Essential Components for Your Agriculture Drone
Here’s a list of components you’ll need, available at Bharat Skytech, along with direct links:
- Drone Frame
- T-Motor M690 Hexacopter Frame
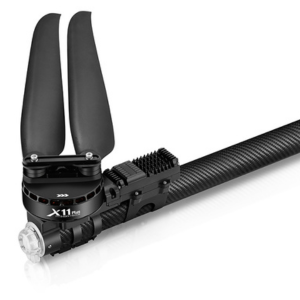
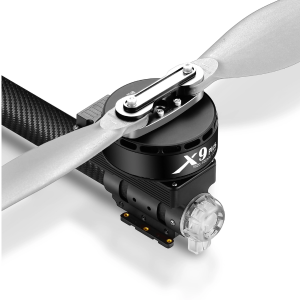
Motors
Electronic Speed Controllers (ESCs)
- Hobbywing XRotor X6 Plus ESC
Propellers
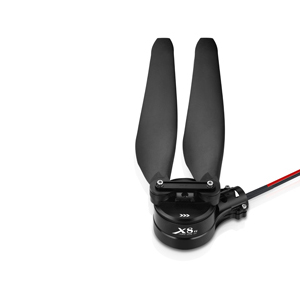
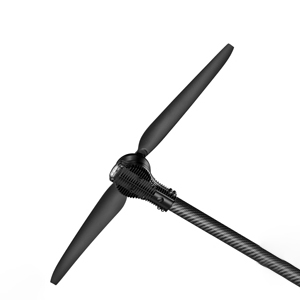
- T-Motor Foldable Propellers
Flight Controller
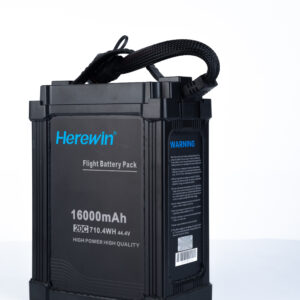
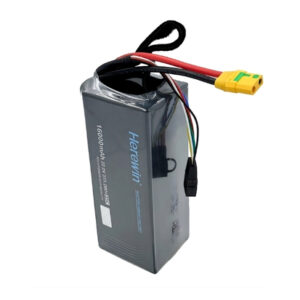
Batteries
Spraying System
GPS Module
- Jiyi GNSS GPS Module
Obstacle Avoidance System
Power Distribution Board (PDB)
Payload Options
Step-by-Step Assembly Guide
Step 1: Assemble the Frame
- Attach arms to the main body of the frame.
- Install motor mounts and ensure all screws are tightened securely.
Step 2: Mount Motors and ESCs
- Fix motors to the arm ends using brackets.
- Connect motors to ESCs and route wires neatly to prevent interference.
Step 3: Install the Flight Controller
- Mount the flight controller using vibration-dampening pads.
- Connect ESC signal wires, GPS module, and radar to the flight controller.
Step 4: Add the Spraying System
- Securely mount the spraying tank.
- Attach the water pump and connect to nozzles for spraying.
Step 5: Power Distribution and Battery Setup
- Install the Power Distribution Board (PDB) to manage power.
- Connect the Tattu G-Tech battery for optimal performance and safety.
Step 6: Propeller Installation
- Attach propellers to motors, ensuring proper alignment (clockwise/counterclockwise).
Step 7: Calibration and Testing
- Use software like Mission Planner to calibrate the flight controller.
- Perform a dry test of motors and spraying systems before attaching payloads.
Step 8: Trial Flight
- Test the drone in an open area.
- Check for flight stability and adjust settings if necessary.
Tips for Building an Agriculture Drone
- Use Trusted Components: Opt for reliable brands like Tattu, Jiyi, and Hobbywing available at Bharat Skytech.
- Ensure Proper Connections: Double-check all wiring and mounting to prevent issues during flight.
- Prioritize Safety: Always test in a safe area without payload before operational use.
Why Choose Bharat Skytech?
At Bharat Skytech, we offer:
- High-Quality Products: Verified and tested components for superior performance.
- 24/7 Support: Expert assistance throughout your drone-building journey.
- Free Shipping Across India: Convenience and cost savings.
- Trusted Reputation: As part of Thakral Corporation, we bring over 120 years of expertise to serve India’s agriculture sector.
From motors to GPS modules, our extensive range ensures you’ll find everything you need to build your drone.
Conclusion
Building your own agriculture drone might seem daunting, but with the right components and guidance, it’s a rewarding and empowering experience. At Bharat Skytech, we’re here to help you every step of the way.
Start assembling your custom drone today by exploring our full range of agriculture drone components at Bharat Skytech. Transform your farming practices with smarter technology!
Need more assistance or a personalized consultation? Contact us at +91 9713131329 or email info@bharatskytech.com


